Yes, you can absolutely teach yourself embroidery
Embroidery is the most self-taught-friendly of the needle-and-thread crafts. There's no machine to learn. There are no live stitches to drop. Every stitch is visible and permanent as you make it, so you can see immediately whether it's working.
Most embroiderers are self-taught, and a huge proportion of modern embroiderers learned from free Instagram and YouTube content in the last five years. The craft has had a TikTok-era renaissance for a reason: it's quick to pick up and the results are Instagrammable from the first session.
The practical caveat: embroidery has more aesthetic decisions than technical ones. Which colours go together, how densely to fill, how to plan a design — these are the things that take longest. The stitches themselves are quick.
The fastest free self-taught path
The cheapest and fastest way to teach yourself is to buy a printed beginner kit (Hawthorn Handmade, Jessica Long Embroidery and Clever Poppy all sell good ones for £15–25) and work through it. A kit includes fabric with the design pre-printed, all the floss you'll need, a hoop, a needle and step-by-step printed instructions. You learn by doing, not by studying.
Alternatively, go free: YouTube has excellent beginner content. The three we recommend for absolute beginners are Cutesy Crafts (warm, clear, specific beginner playlists), Jessica Long Embroidery (step-by-step pieces with crisp photography), and Thuy Pham on PeppermintPurpleEmbroidery (modern fine-detail work with beginner-friendly basics).
Either path, the first hour teaches you running stitch and back stitch. The first afternoon gets you a finished small piece. That rapid payoff is why embroidery feels so different from self-teaching knitting or crochet.
Why people get stuck — and how to avoid it
Three common failure modes. First, over-tightening the hoop. The fabric should feel drum-taut but not strain the hoop; if it warps, loosen slightly. Over-tightening bends the hoop out of round within a few uses.
Second, using thread that's too long. Arm's length is the maximum — longer thread tangles and frays before you've used it. Embroidery floss is delicate; treat it gently.
Third, starting with high-contrast colours on day one. Black thread on white fabric shows every imperfection; every wobbly stitch, every mis-spaced French knot. Start with soft tonal combinations (pale pink on cream, light blue on off-white) while your stitches find their consistency. By your third piece, you can handle black on white comfortably.
When a paid course is worth it
A paid course is worth it if any of these apply: you want a specific finished piece (a frameable botanical hoop, a detailed portrait) as motivation; you prefer video to kit-based step-by-step; you want questions answered; or you've already tried YouTube and kept switching projects without finishing.
Our top pick is Adriana Torres' Contemporary Embroidery for Beginners on Domestika (one-off purchase, often on sale under £15). Calmest teacher we've tested — her French-knot demo alone is worth the price. Course ends with a frameable botanical hoop.
For a subscription-based alternative with a warmer sampler approach, Skillshare's Embroidery with Mollie is our close second. Full reviews in our best embroidery courses roundup.
How long does self-taught embroidery take?
Realistic self-taught timeline: first hour, running stitch and back stitch. First afternoon (3–5 hours), a small finished sampler. End of week one (8–12 total hours), a small finished hoop ready to frame. Weeks 2–3, a polished botanical hoop or detailed monogram. Month 2 onwards, you're branching into thread painting, layered fills and your own designs.
Full timeline in our how long to learn embroidery guide.
Self-taught is roughly the same speed as course-taught for embroidery, which is unusual — most crafts see self-teachers take 1–2 extra weeks. Embroidery's rapid feedback loop means you learn by doing, and kits do the sequencing that courses would otherwise do.
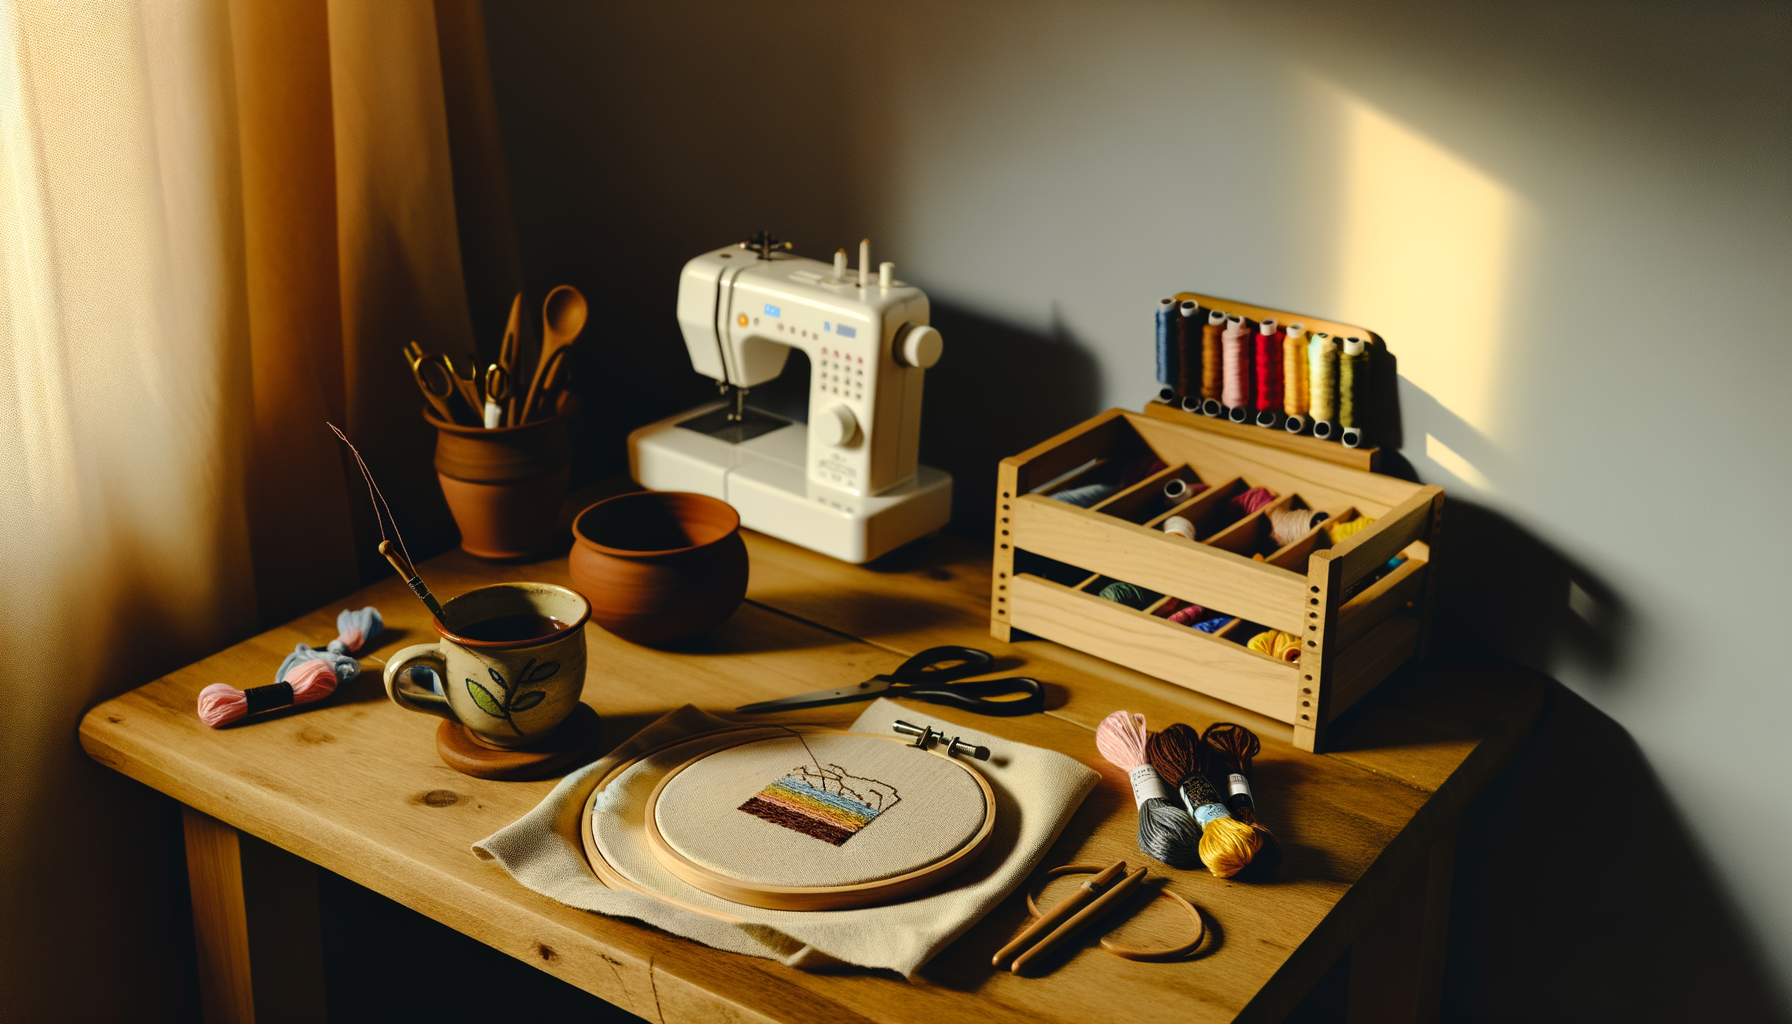
Kit matters (but less than in knitting or crochet)
Bad embroidery kit is less fatal than bad knitting or crochet kit, because there's no ongoing manipulation to go wrong — each stitch is discrete. But good kit still makes a difference in how frustrating the basics feel.
Our pick: a beech wood 6-inch embroidery hoop (~£6.99 — warmer, lighter, gentler on fabric than plastic), a DMC cotton floss starter pack (~£12.50 — trusted quality, smooth stranding, enough colours for several pieces), and a set of John James crewel needles with plain cotton fabric (~£5.99 — sharp needles on tightly-woven cotton give crisp stitches). Full starter breakdown on our embroidery starter kit page.
The one thing we'd never budget on: the fabric. Cheap loose-weave cotton makes every stitch frustrating; a tightly-woven quilting cotton (or linen) is a completely different experience. If you're only buying one premium item, make it the fabric.
What to do if you get stuck
Embroidery gets stuck less often than knitting or crochet because each stitch is independent. But when it does — usually on French knots or satin stitch fills — three resources help. First, search the specific stitch on a different YouTube channel. Second, the /r/Embroidery subreddit (very friendly, many pros). Third, the #embroidery hashtag on Instagram, where experienced embroiderers often answer beginner questions in comments.