What is bobble stitch in crochet?
A bobble is a raised 3D cluster formed by working multiple incomplete double crochets into the same stitch, then closing them all with one final pull-through. The result is a small popcorn-like bump that sits proud of the surrounding fabric.
Most patterns use a 5-double-crochet bobble (5-dc bob), which is what we'll teach here. Some patterns use 4 or 6 double crochets — the principle is identical, just adjust the repeat count. Some use treble crochets for a taller, more dramatic bobble.
Bobble stitch is sometimes confused with popcorn stitch and puff stitch. They're all raised textures but technically different. Bobbles are closed with a single pull-through through all loops on the hook; popcorn stitches are closed by removing the hook and re-inserting into the first stitch of the cluster; puff stitches are made with multiple yarn-overs pulled through in one go.
What bobble stitch looks and feels like
Bobbles produce a distinctly tactile fabric. Done well, they pop up in a neat regular grid like raised polka dots. Done loosely, they flop flat against the background and look like bumpy double crochets.
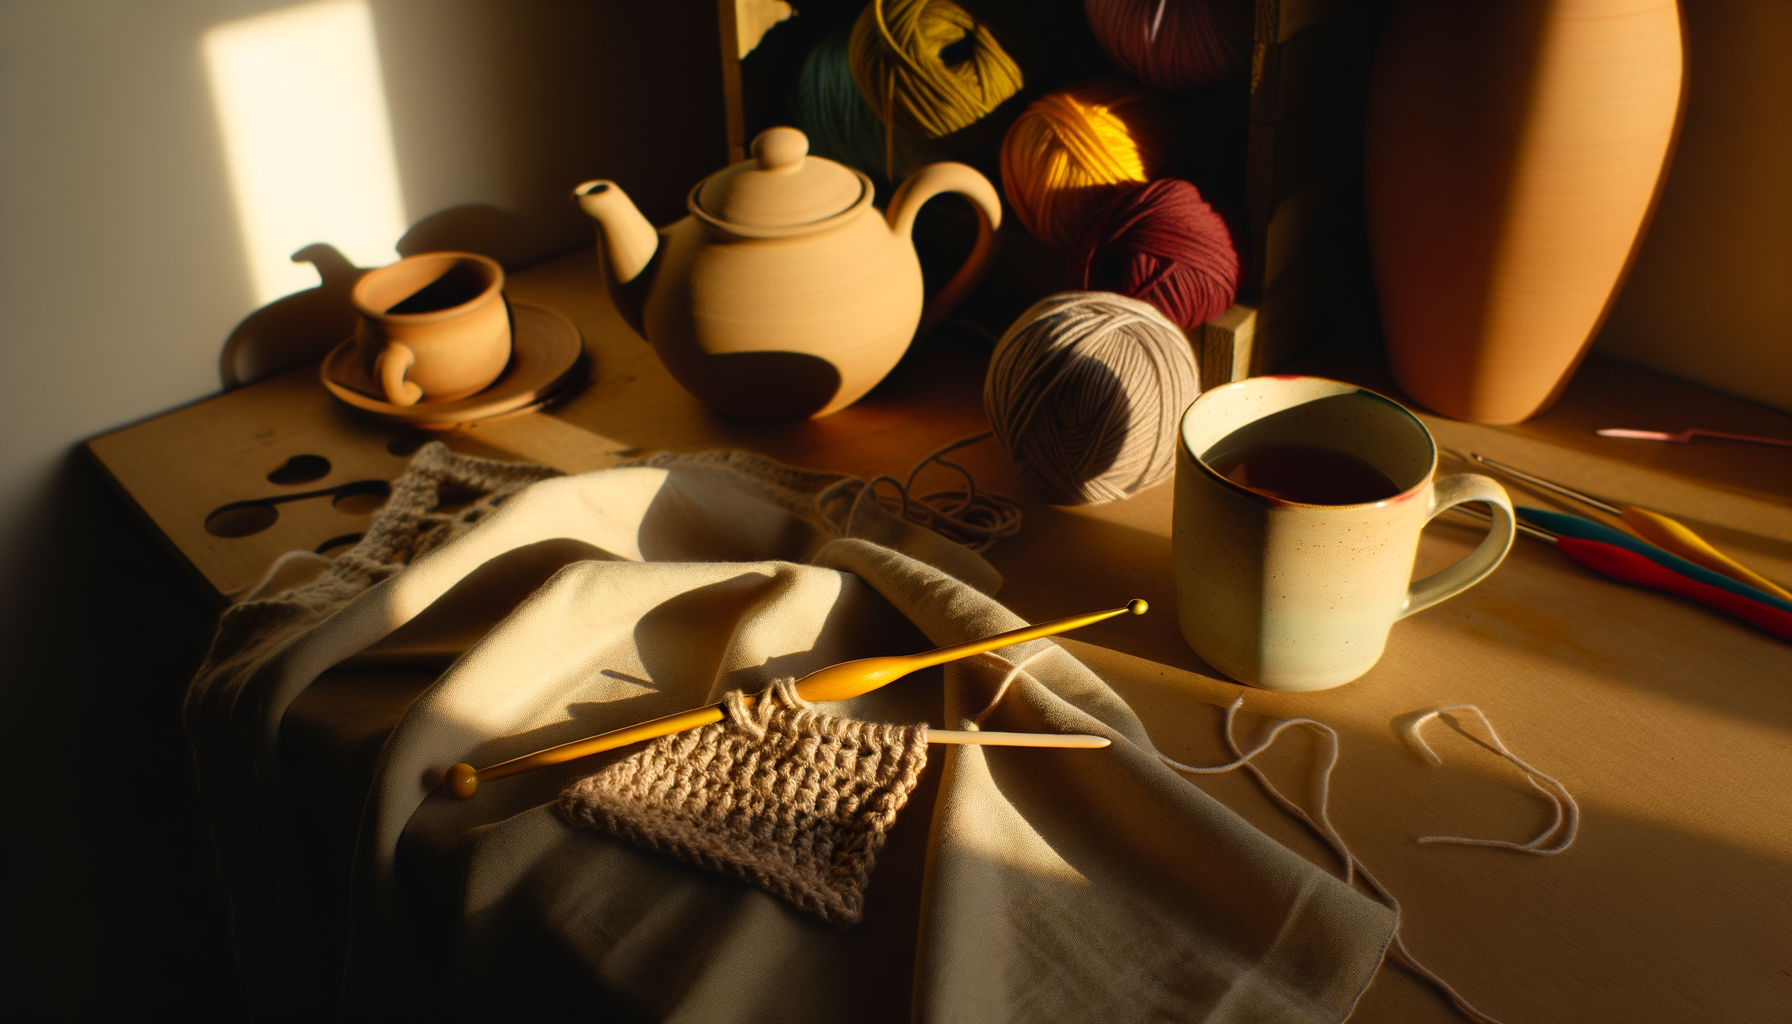
The fabric is chunky and warm — great for baby blankets, cosy cushions, headbands and anything you want to feel plush. It uses more yarn than plain single or double crochet (about 30% more for a bobble-heavy project) because each bobble stacks five stitches' worth of yarn into one spot.
Bobble-heavy projects don't drape well — the stiffness is part of the charm. Not a stitch for scarves or garments you want to flow.
How to crochet bobble stitch — step by step
What you'll need: a 5mm crochet hook (we use the Clover Amour for its ergonomic handle; full kit breakdown on our crochet starter kit page), a ball of smooth DK or aran yarn, and scissors. Work on a foundation of single crochet for your first bobble swatch — it gives a firm base for the bobble to pop against.
Prerequisite: you need to be comfortable with double crochet. If double crochet is shaky, our basic crochet stitches for beginners covers it in detail first.
Step 1. Make a foundation chain of around 20 stitches, then work 2 rows of single crochet. This gives you a stable base for practising bobbles on row 3.
Step 2. Chain 1, turn. Now you're ready to place your first bobble.
Step 3. Insert hook into the next stitch. Yarn over, pull up a loop (2 loops on hook). Yarn over, pull through 2 loops (1 loop on hook). That's the incomplete first double crochet — but STOP. Do not close it fully.
Step 4. (Wait — we actually need the 'unfinished' version.) Let's redo: Yarn over, insert hook into the stitch, yarn over, pull up a loop (3 loops on hook). Yarn over, pull through 2 of those loops (2 loops remain on hook). That's one unfinished double crochet.
Step 5. Repeat step 4 four more times into the SAME stitch. After five repeats, you should have 6 loops on your hook (the original loop from the previous stitch plus 5 half-worked double crochets).
Step 6. Yarn over one more time, then pull through ALL 6 loops in one motion. The five half-stitches close together, forming the bobble.
Step 7. Chain 1 to 'lock' the bobble in place. (Some patterns skip this chain-1 — check yours. The chain-1 pushes the bobble to the back of the work so it pops towards the right side.)
Step 8. Work 1 single crochet into the next stitch. This 'spacer' stitch gives the bobble room to sit. Continue pattern: bobble, single crochet, bobble, single crochet, across the row.
Step 9. At the end of the row, chain 1 and turn. On the return row, work plain single crochet across — the bobbles will pop through to what is now the right side.
Why your first bobbles look flat (and how to fix it)
Three common causes, with fixes.
Tension too loose. A bobble needs firm tension on the closing pull-through to gather properly. If your bobbles flop, pull the closing loop tighter by 1–2 mm. The stitch should feel like it's being yanked snug, not gently closed.
Not pushing the bobble through. Bobbles are worked on the 'back' of the fabric and pop through to the right side. If you work them on the right side directly, they can sit flat. The chain-1 after closing helps — and you should physically poke the bobble through to the opposite side with a finger if needed.
Wrong yarn weight. Thin cotton yarn (4-ply or lighter) produces weak, floppy bobbles. Aran or DK yarn works best. Super-bulky can over-do it.
Forgetting the spacer single crochet between bobbles. Back-to-back bobbles without a spacer squash each other. Always include at least one plain stitch between bobbles unless the pattern explicitly says otherwise.
Three projects that shine in bobble stitch
A bobble-stitch headband or ear warmer. The fastest way to make something giftable with bobbles. A single strip of chunky yarn with a row of bobbles running along the centre. 3–4 hours of work. Rosie O'Sullivan's free 'Bobble Band' pattern (findable on Ravelry) is our pick for beginners.
A bobble-stitch baby blanket. Dense, warm and textural — perfect for a first-blanket project that goes beyond plain single crochet. Use washable aran yarn (Drops Paris or Lion Brand Wool-Ease). Takes 15–25 hours over a few weeks.
A bobble-stitch cushion cover. Pairs bobble rows with plain single crochet rows for contrast. A 40 cm cushion cover takes around 12–15 hours. Our best crochet projects for gifts guide covers the full project list.
What to try next after bobble stitch
Bobble stitch unlocks a whole family of raised-texture crochet stitches. Three natural next steps: the puff stitch (similar look but made with yarn-overs instead of incomplete double crochets — often softer and rounder), the waffle stitch (uses front/back post double crochet for deep 3D waffle texture), and the shell stitch (five double crochets into one stitch, creating a fan rather than a bump).
Once you're comfortable with bobbles, popcorn stitch is a natural extension — same idea but closed differently for a more pronounced 3D effect.