Is a beanie a realistic beginner project?
Yes — a beanie is usually the first 'impressive' crochet project beginners tackle. It involves slightly more skill than dishcloths or scarves because it's worked in the round and requires shaping at the crown, but none of the techniques are advanced. If you've finished a dishcloth, a scarf and a granny square, you're ready for a beanie.
Realistic timing: most beginners complete their first beanie by week 4–6 of learning crochet. Budget 8–15 hours of work — faster if you choose chunky yarn, slower if you pick a detailed pattern with texture.
The biggest learning curve is working in the round with stitch markers — continuous spiral rounds mean your stitches don't end at the same place on each round, so a marker at the 'start' helps you keep track. Not difficult, just different from row-based projects.
Beanie sizing — getting the fit right
Adult beanie sizing is roughly: circumference 52–56 cm, height 20–22 cm. For slouchy styles, add another 4–6 cm of height.
Child sizing: circumference 48–52 cm, height 17–19 cm for ages 5–12. Toddler and baby sizes scale down further — always measure the recipient's head if gifting.
The safest beginner approach is to make a beanie slightly smaller than the final circumference, because crochet stretches. Aim for 52 cm circumference and let the stitches ease to 55 cm when worn. A beanie too loose slips off; a beanie too tight pinches.
If you're gifting, the standard 'adult unisex' size (55 cm circumference, 22 cm height) fits about 80% of adult heads. Don't stress about perfect sizing — beanies are forgiving, and chunky yarn ribbing stretches to accommodate.
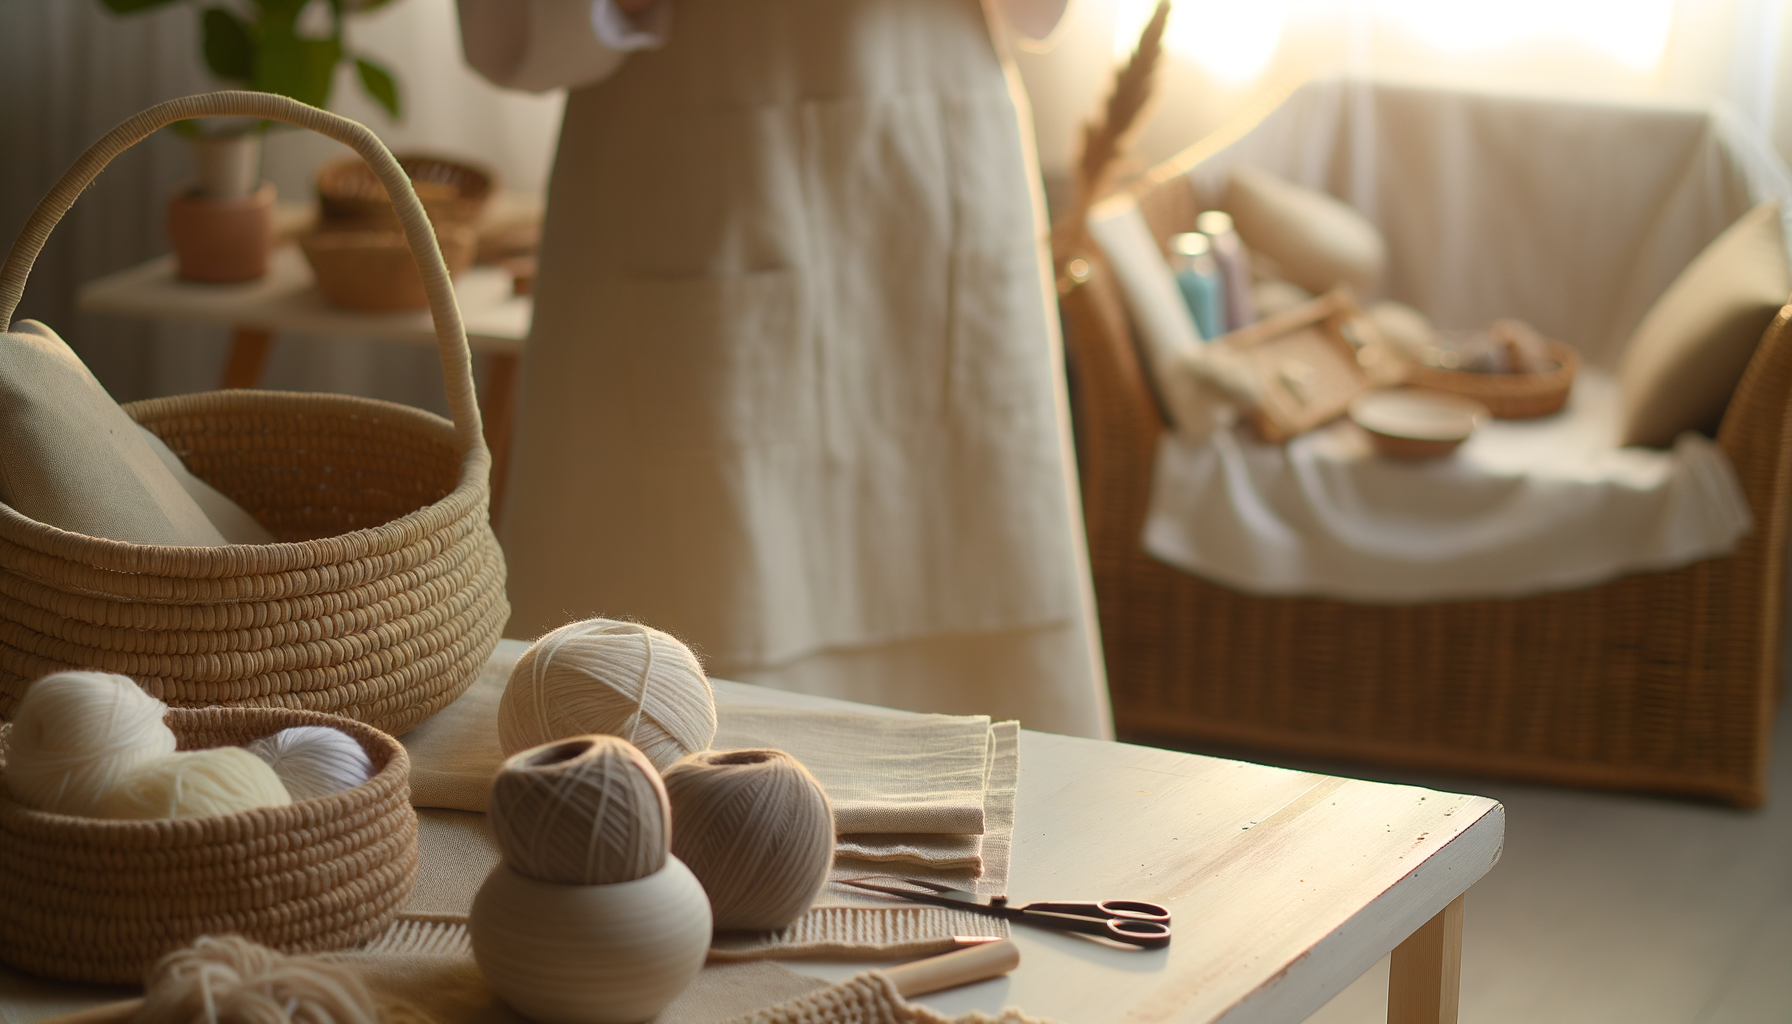
Choosing yarn and hook for a beanie
Yarn weight matters a lot for beanies. Chunky yarn on a 6mm hook gives you a fast, cosy hat in 6–10 hours. Aran yarn on a 5mm hook gives you a slightly finer fabric in 10–15 hours. DK yarn on a 4mm hook gives you a lightweight beanie in 15–25 hours — slower but more garment-like.
Our pick for a first beanie: Drops Nepal aran (wool-alpaca blend) or Lion Brand Wool-Ease aran, both warm and soft. About 100 g (one ball) for an adult beanie. Cost: £3–5 per ball.
Avoid 100% cotton for beanies — cotton doesn't have the elasticity you need for a hat. Wool, wool-blend, or acrylic-wool blends work best. For babies and allergies, a soft acrylic like Lion Brand Baby Soft is the safer choice.
Hook: a 5mm or 6mm hook depending on yarn. We use the Clover Amour for ergonomic comfort — full kit breakdown on our crochet starter kit page.
Beanie construction approaches — crown-down vs brim-up
There are two main ways to crochet a beanie. Both produce similar finished hats but feel different to make.
Crown-down (top-down). Start with a magic ring or chain-4 ring. Work increases outward in rounds until the 'crown circle' reaches about 17–20 cm in diameter. Then stop increasing and work straight down the sides. This approach lets you adjust length easily — just keep working straight until the beanie is as deep as you want.
Brim-up (bottom-up). Start with a foundation chain joined in a ring, or a 'cast-on' ribbed band. Work straight up the sides, then start decreasing at the crown to close the top. This approach gives more control over ribbed brims but is slightly more fiddly to finish at the crown.
For absolute beginners, crown-down is easier because there's no decreasing to panic about — the beanie simply grows longer until you stop. Most YouTube beanie tutorials use crown-down for this reason.
How to crochet a basic crown-down beanie — step by step
This is a simplified adult beanie in aran yarn using half-double crochet throughout. Finished size roughly 55 cm circumference, 22 cm height.
Step 1. Start with a magic ring (or chain 4 and slip-stitch into a ring). The magic ring produces a tighter closed centre — worth learning for all future hat projects.
Step 2. Round 1: chain 2 (counts as first hdc). Work 11 half-double crochets into the ring (12 total including the chain-2). Slip stitch into the top of the chain-2 to join. You should have 12 stitches.
Step 3. Round 2: chain 2. Work 2 hdc into each stitch around. Slip stitch to join. You should have 24 stitches.
Step 4. Round 3: chain 2. Work 1 hdc in the first stitch, 2 hdc in the next stitch, and continue this '1 hdc, 2 hdc' pattern around. Slip stitch to join. You should have 36 stitches.
Step 5. Round 4: chain 2. Work 1 hdc in each of the first 2 stitches, 2 hdc in the third stitch, and continue this '1 hdc, 1 hdc, 2 hdc' pattern around. Slip stitch to join. You should have 48 stitches.
Step 6. Continue this increase pattern (adding one stitch between increases each round) until your circle is about 17–20 cm in diameter. For most adults, that's around 72 stitches after 6 rounds.
Step 7. Stop increasing. Now work straight rounds: chain 2 at the start of each round, work hdc into each stitch around, slip stitch to join. Continue for about 15–18 straight rounds, or until the beanie measures about 20 cm from the crown.
Step 8. Optional ribbed brim: for the last 5–6 rounds, switch to an alternating front-post hdc / back-post hdc pattern (learned in our waffle stitch guide). This creates a stretchy ribbed brim that hugs the head.
Step 9. Finish off. Cut the yarn with a 15 cm tail. Pull the tail through the last loop and weave in the ends with a tapestry needle.
Optional decoration: sew on a faux fur pom-pom or a yarn pom-pom to the crown. Adds ~1 hour and turns a simple beanie into a giftable statement piece.
Common beanie mistakes (and quick fixes)
Crown circle too small or too large. If your beanie circle is smaller than 17 cm after your increase rounds, keep increasing — too-small crowns produce beanies that bulge weirdly at the top. If larger than 22 cm, the beanie will be too loose.
Losing track of rounds. Stitch markers at the start of each round are essential. Most beginners skip this and then can't find where the round started when it's time to slip-stitch join.
Stitch count wandering. Each round should end with the same stitch count as it started (except during increase rounds). If you're getting more or fewer stitches per round, you've accidentally added or skipped an increase or slip stitch.
Beanie too small overall. Caused by tight tension. Fix: go up one hook size. A 6mm hook instead of a 5mm hook can add 5 cm of circumference.
Uneven ribbed brim. Front-post and back-post stitches need to align between rounds — the FP goes over the previous row's BP, and vice versa. Losing this alignment creates a wonky brim.
Beanie patterns worth starting with
Tin Can Knits' 'Barley' beanie (free). A knitted pattern originally, but widely adapted into free crochet versions on Ravelry. Classic shape, minimal decoration, good for beginners.
Sewrella's 'Classic Crochet Beanie' (free, on YouTube). Video tutorial specifically for absolute beginners. Uses half-double crochet throughout with the crown-down method covered above.
Bella Coco's 'Simple Beginner Beanie' (free, YouTube). Another warm, clear beginner tutorial. Slightly more textured than Sewrella's version.
For a more advanced-looking beanie, our best crochet projects for gifts covers textured approaches like bobble stitch hats and chunky-yarn slouch beanies.